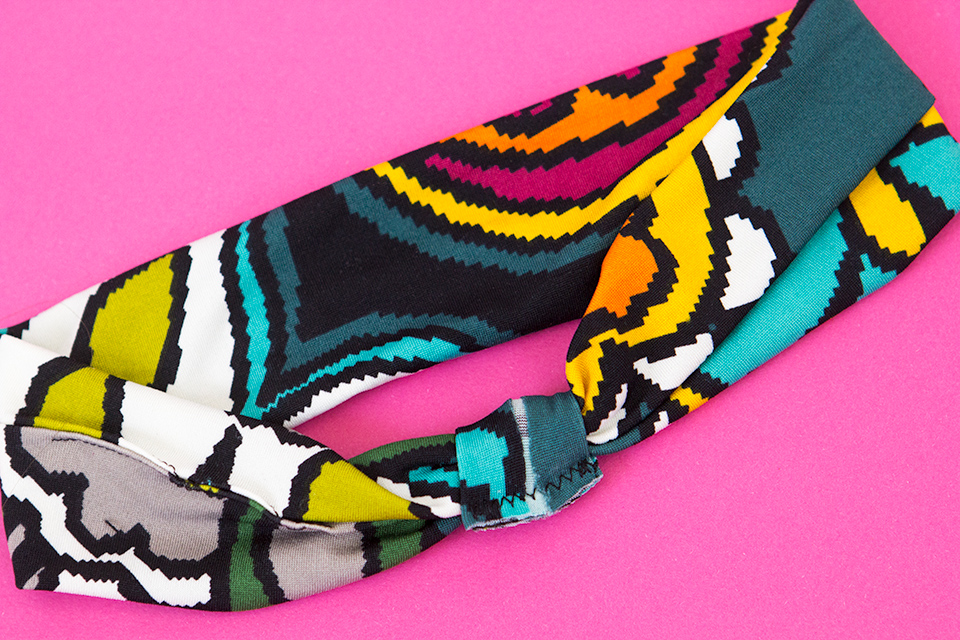
I’ve been wanting to try making my own DIY version of my favorite headband for quite some time and I finally got around to it. After three attempts and lots of tweaking I came up with a method I like and measurements that fit. If you’re not an experienced seamstress don’t worry, I’m not either and this project comes together really quickly and quite painlessly. Your stitches and seams don’t have to be perfectly aligned (um, have you seen mine yet?) which makes this my favorite kind of pattern. It’s a great way to use up fabric scraps that you love. I made mine using scraps from my DIY maxi skirt.

Time: 20 minutes
Supplies:
– polyester knit fabric, cut to 5.5″ x 19.5″ and 2″ x 4″
– thread
– scissors
– needle
– sewing machine
Step 1: Fold the larger piece of fabric in half lengthwise with the right sides together. Sew the long edge together leaving a 1″ – 1.5″ gap towards one end. This is so you’ll be able to turn it right side out later.
Step 2: Bring the right sides together by holding the fabric tube at one end and bringing the other short in through. It should be half the length as before because the fabric is tucked inside.
Step 3: Sew the right sides together using a straight stitch. This is the hardest part of the whole project. Just go slow and if it’s not perfect that’s ok, you will cover up this seam when you gather the headband together.
Step 4: Turn the headband right side out. Sew as close to the open seam as possible to close the hole. Take the 2″ x 4″ piece of fabric and fold the both the left and right long edges in so it’s 1″ x 4″. With the folded edges up, wrap this piece around the center seam of the headband. Use a zig zag stitch to sew the loop closed (like shown in the photo above).
Step 5: Turn the center piece that you just sewed right side out. Position it so the seam is on the inside of the headband and the loop is completely covering the seam where the headband is joined. Use a needle and thread to hand sew the loop into place and you’re done!
Note:
Any type of stretch knit fabric will work for this project but I highly recommend using a polyester knit. It makes the headband less bulky and has much better stretch than cotton knits.
Check out my other sewing projects for more DIY inspiration!


Hi, so cute! Could you clarify steps 2 and 3 for me? I’m really just not envisioning what I’m supposed to do. Thanks!
Hi Jessica! I’d be happy to :)
Make sure the fabric has the wrong side out (like shown) and hold it at one end. With your other hand grab the opposite end and pull that end inside the tube. The right sides should be facing each other, inside the tube. This makes it about half the height that it was before the fabric is tucked inside. Then you are going to sew the top end, where the two layers of fabric are touching together in a circle because it’s a tube. Let me know if you need any further clarification!
I am thinking of making some of these for a fundraiser. How many do you think you could make in an hour?
Fun! Probably 6 or so depending on how quickly you can cut the fabric. Good luck!