After creating the fun paint brush printables with my Sprout I decided to use it in a completely different way to create a spring inspired DIY project. This time, rather than scanning my paint brushes, I decided to scan some of my favorite fabrics and use them to create a pretty planter.
I love to buy fabric (and pretty much all textiles) the way most women love to to buy shoes. The bright pink floral sweatshirt I’m wearing is proof! When I see a beautiful print I just have to have it, even before I know exactly how I’m going to use it. But rather than actually cut up and use some of my favorite fabrics I found a better way to use them—and share them with you.
I placed the fabric down, one at a time, on the Touch Mat and scanned it. Just the tap of one button and it was imported into my gallery and ready to be used.
After scanning each fabric with the 3D camera I then punched a hexagon out of each print to create the tiled printable you see below. It really feels like finger painting when creating on the projected surface. There’s something so comfortable about working with your hands, even if it’s a digital surface.
After punching out the hexagon shapes, I pinched and zoomed to resize them and arranged them on my workspace. I printed them out on some matte photo paper and then used them to decorate a plain white planter. Now I have a unique planter I just adore—and I can keep the fabric for another DIY!
Time: 15 minutes + drying
Supplies: geometric template / planter / outdoor mod podge / scissors / foam brush
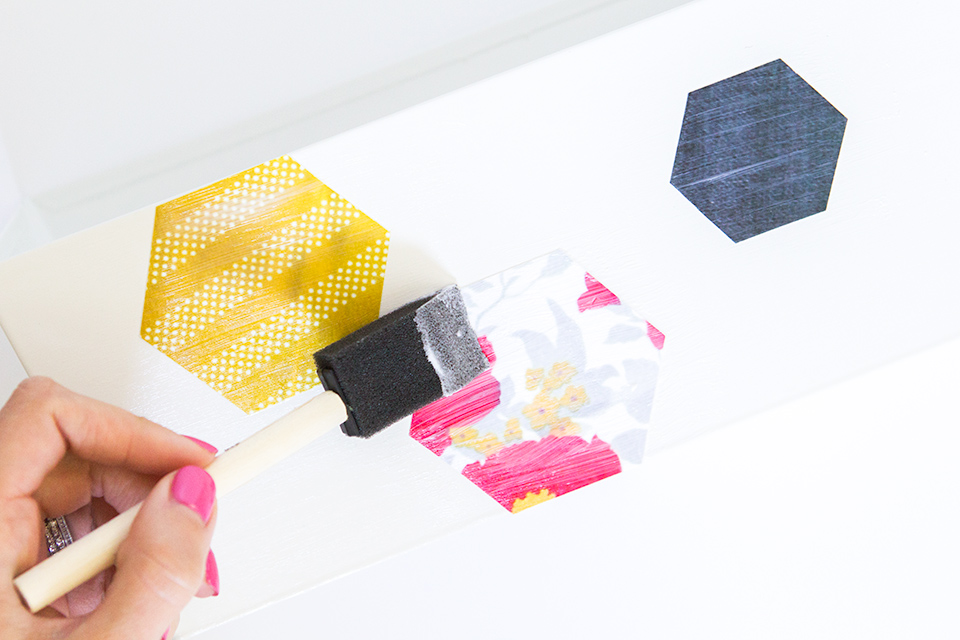
Step 1: Download and print the template on matte photo paper or card stock. Cut out each hexagon shape.
Step 2: Working on one side at a time, use a foam brush to apply outdoor Mod Podge to the entire side of the planter. Place the geometric shapes directly on the wet surface and apply another coat on top of the paper making sure to cover all the edges. It will look slightly milky but don’t worry—it will dry clear. Repeat on the other sides of the planter. Allow it to dry for 20 minutes then add a second coat over the entire outside of the planter. Allow it to dry overnight before placing plants inside.
What would you create with a Sprout? Leave a comment and let me know how you would use it on your next DIY project!
This post was created in partnership with Sprout by HP. Thanks for supporting the brands that keep this blog going!


How clever!! I would definitely try this one out at home!
Thanks Carrie!
would never have thought to do something li this. I could use this iea making card, or wall décor.
That’s such a great idea Patti!
LOVEE this! I have all my supplies now and am starting to create my own planter today. Thanks for such an amazing tutorial, you rock!! (:
You’re so welcome! Please share a photo with #sarahhearts when you’re done!