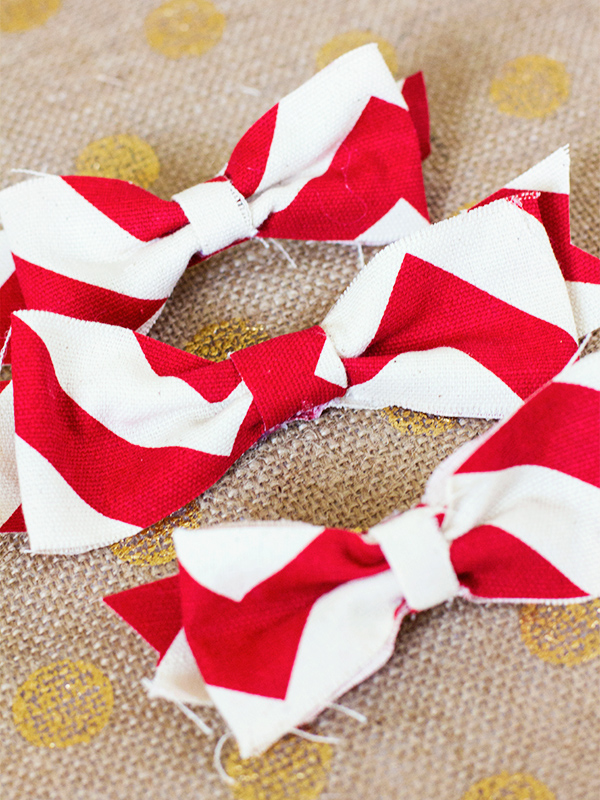


After we made the burlap wreaths, I had a ton of the real and cream chevron fabric left over. I thought it would be fun to use it to make some cute fabric bows. I added a barrette to the back of the bow and plan to give them as Christmas gifts (and keep one for myself). Who wouldn’t want a festive bow to adorn their to knot, right?
If you add a barrette, you can just clip it onto a package as a secondary gift and lovely wrapping! They would also be cute as a little boy’s boy tie. Or you can glue/sew one on to a dog collar. The possibilites are seriously endless! To make these all you need is some fabric (which is a great way to use up some scraps), scissors, and a glue gun!
Here are the steps:
1. Cut fabric into 3 pieces: 11″ x 2″ (this will be the bow), 6.5″ x 1.5″ (this will be the back part), and 2″ x 1.5″ (this is used as the middle part).
2. Take the largest piece (the 11″ x 2″ piece) and make a loop. Use the glue gun to glue the ends together.
3. Take the smallest piece and hold it in half, length wise. Put some glue on the inside to keep it together.
4. Pinch the large loop you made in step 2. Then wrap the small piece you just glued onto the bow part to hold it all together. Add some glue to the back of the small piece to keep it together.
5. Take the remaining piece and pinch it together in the middle. Add some glue to hold it in place.
6. Glue this piece onto the back of the bow.
7. Use your scissors to trim the ends of the back piece. Add a pin, barrette, or any other type of backing to the back and you’re done!

One comment